Hey there. Here's an update on the project I've been working on the last 2+ weeks.
This is what it supposed to look like in the end. Obviously it will look much better than this but this is just a reference to get ideas from. We also have a book of the last groups projects to look at to get ideas from as well. It is a polishing tripod. It's what I have been using to polish the screws for the other projects and also for the screws for the one I'm making. The pictures are missing part of the handle that is used to turn the operating screw.


This is the base piece and was cut and filed by hand.
I had to make a holder to screw into the holes on the edge so I had a guide to file a nice round corner.
This is the sliding piece that goes in the middle. It is held by 2 screws.
Here is a few pictures from making the knobs for the height adjusters. This was all my own design and ideas based on the above example.
This is actually two pieces that are screwed together using the brass holder. I did this purely for a visual aesthetic so that if you screw the bottom holder up to the top one, the slots line up (this stuff is really hard to explain without showing in a video).
This is what the milling attachment for the lathe looks like.
And here is the piece after all 9 slots have been milled out. This splits into 2 pieces.
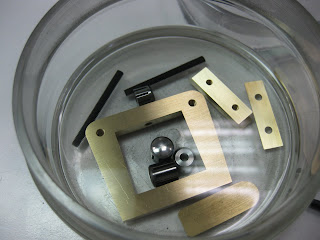
Here's a collection of some of the pieces for the tripod. Everything is kept in benzine so it won't oxidize. I also keep some parts in isopropanol alcohol. usually the polished parts.


